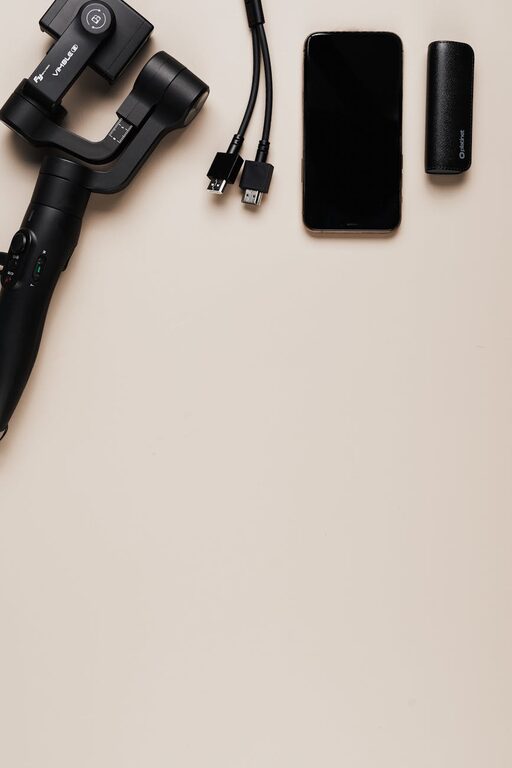
How to Set Up a Convenient Charging Station for Your Devices
Setting up a dedicated charging station for your devices is a simple yet effective way to keep your gadgets powered and your space clutter-free. Whether you have smartphones, tablets, smartwatches, or other rechargeable devices, a well-organized charging area can save you time and reduce frustration.
In this post, we’ll walk you through the steps to create a practical charging station that fits your space and devices. You’ll also find tips on managing cables, choosing the right chargers, and keeping things safe.
Why Set Up a Charging Station?
Before diving into the setup, it’s worth understanding why having a dedicated charging area is beneficial:
– Organization: Keeps all your devices and cables in one place.
– Efficiency: Powers multiple devices at once without hunting for outlets.
– Safety: Reduces risk of overheating or tripping over loose cords.
– Aesthetics: Creates a neat, visually pleasing spot for technology.
Now, let’s explore how to set one up step-by-step.
Step 1: Choose the Right Location
Start by selecting a spot that is accessible, spacious enough for your needs, and near a power source.
Considerations for Location:
– Close to power outlets to avoid using long extension cords.
– A flat surface like a desk, countertop, or shelf.
– Away from heat sources or moisture.
– Well-ventilated to prevent devices or chargers from overheating.
Common locations include entryway tables, desks, nightstands, or kitchen counters.
Step 2: Identify Your Devices and Charging Needs
Make a list of all the devices you want to charge in this station. Different devices may require different chargers or cables.
Typical Devices Include:
– Smartphones
– Tablets
– Laptops (if supported)
– Wireless earbuds and headphones
– Smartwatches and fitness trackers
– E-readers
– Power banks
Knowing your devices helps determine how many charging ports, cables, and accessories you need.
Step 3: Gather Charging Equipment
Based on your device list, gather the necessary chargers and cables.
Charger Types:
– USB-A Chargers: Widely used for many devices.
– USB-C Chargers: The newer standard with faster charging.
– Wireless Charging Pads: For compatible phones and accessories.
– Multi-port USB Chargers: Useful for charging multiple devices from one outlet.
– Power Strips with USB Ports: Help manage multiple plugs and USB cables.
When buying chargers, consider safety certifications and compatibility with your devices.
Step 4: Organize Cables and Devices
Cable management is key to maintaining a neat charging station. Here are some strategies:
Cable Management Tips:
– Use cable clips or holders to keep cables in place.
– Employ cable ties or Velcro strips to bundle excess cable length.
– Consider a charging station organizer with built-in cable management slots.
– Label cables if you have several that look similar, to easily identify them.
– Use a drawer or small container nearby to store extra cables neatly.
Device Placement:
Arrange devices so their charging ports align easily with the cables. You can use small stands or holders to keep phones and tablets upright and visible while charging.
Step 5: Assemble Your Charging Station
Once you have your chargers, cables, and cable management tools ready:
- Position your power strip or multi-port charger close to the outlet.
- Plug in the chargers and arrange cables neatly using clips and ties.
- Connect your devices and place them on designated spots.
- Test each port and charger to ensure all devices charge safely and efficiently.
Step 6: Maintain Your Charging Station
To keep your charging station functional and tidy over time:
– Regularly dust and clean the area.
– Check cables for wear and replace damaged ones.
– Avoid overloading power strips.
– Update chargers as your devices evolve or when faster options become available.
– Occasionally reorganize as your collection of devices changes.
Optional Enhancements for Your Charging Station
Consider these ideas to customize your charging station for convenience and style:
– Add a small lamp or LED light strip for visibility.
– Use a decorative tray to contain cables and devices.
– Include a small notepad or pen for jotting down reminders.
– Integrate USB hubs for expanded connectivity.
– Choose a charging station with storage compartments for accessories.
Final Thoughts
Creating a dedicated charging station is an easy, practical upgrade that improves device management and workspace organization. With a bit of planning and some simple tools, you can have a safe, efficient place where all your gadgets get powered up and ready to go.
Enjoy your clutter-free, fully charged devices!


